First try in macro focus stacking
With my new Sony 90mm F2.8 Macro lens I wanted to try focus stacking for the first time. In the following blog post I would like to show the tools and process I used. But first let me show you the result bellow. While not perfect, I’m still pleased for a first try.
The result of my first focus stacked macro photo
While shooting the image series for the focus stacking, I made sure to control as much of the scene as possible. The goal was to ensure identical images (other than the focus) for ideal conditions, when combining the images. This included controlled lighting and no movement in the scene. On the camera I disabled all automatic behavior and made sure to set everything (white balance, aperture, shutter time, focus …) manually.
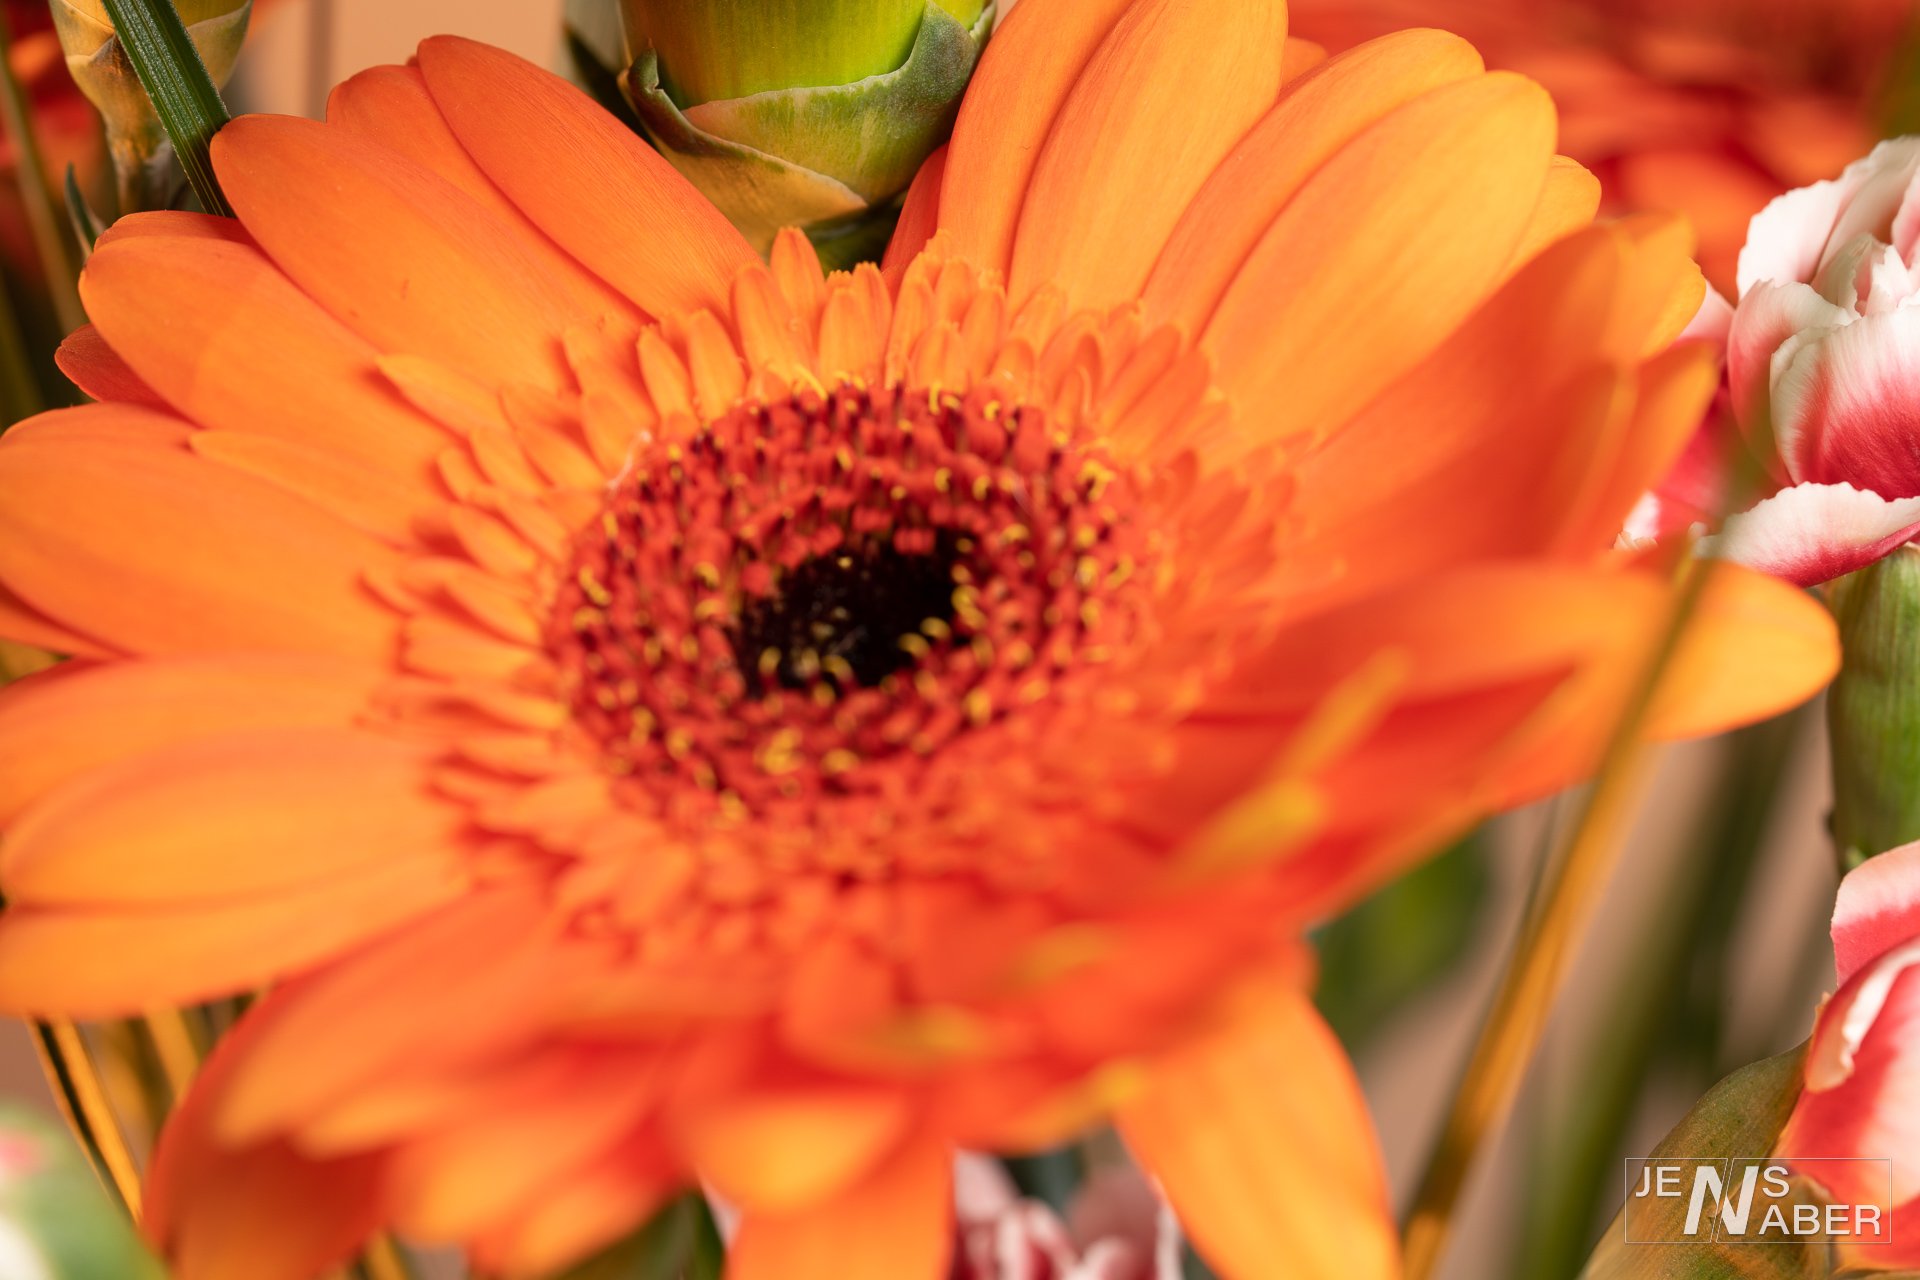
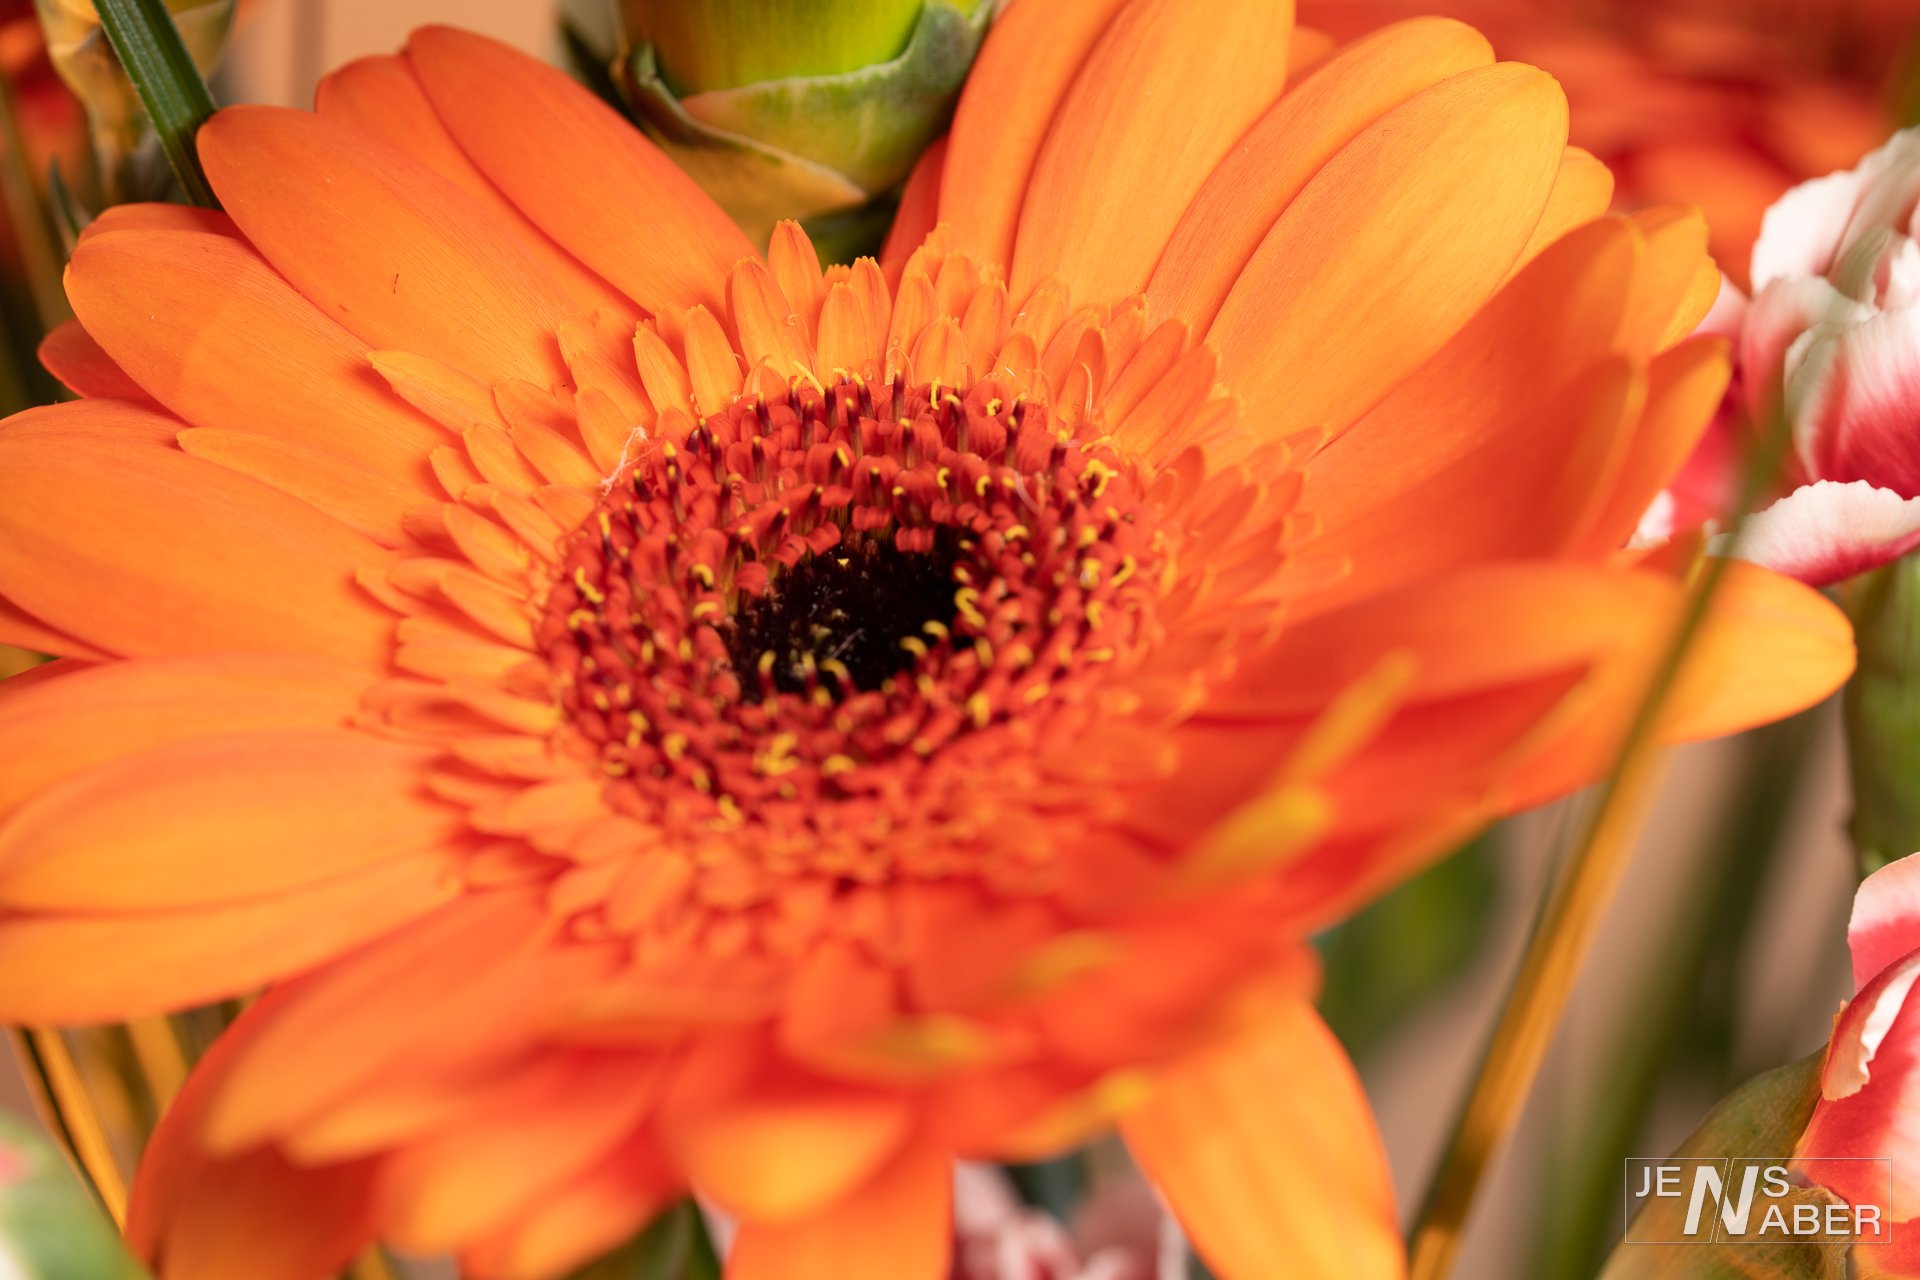
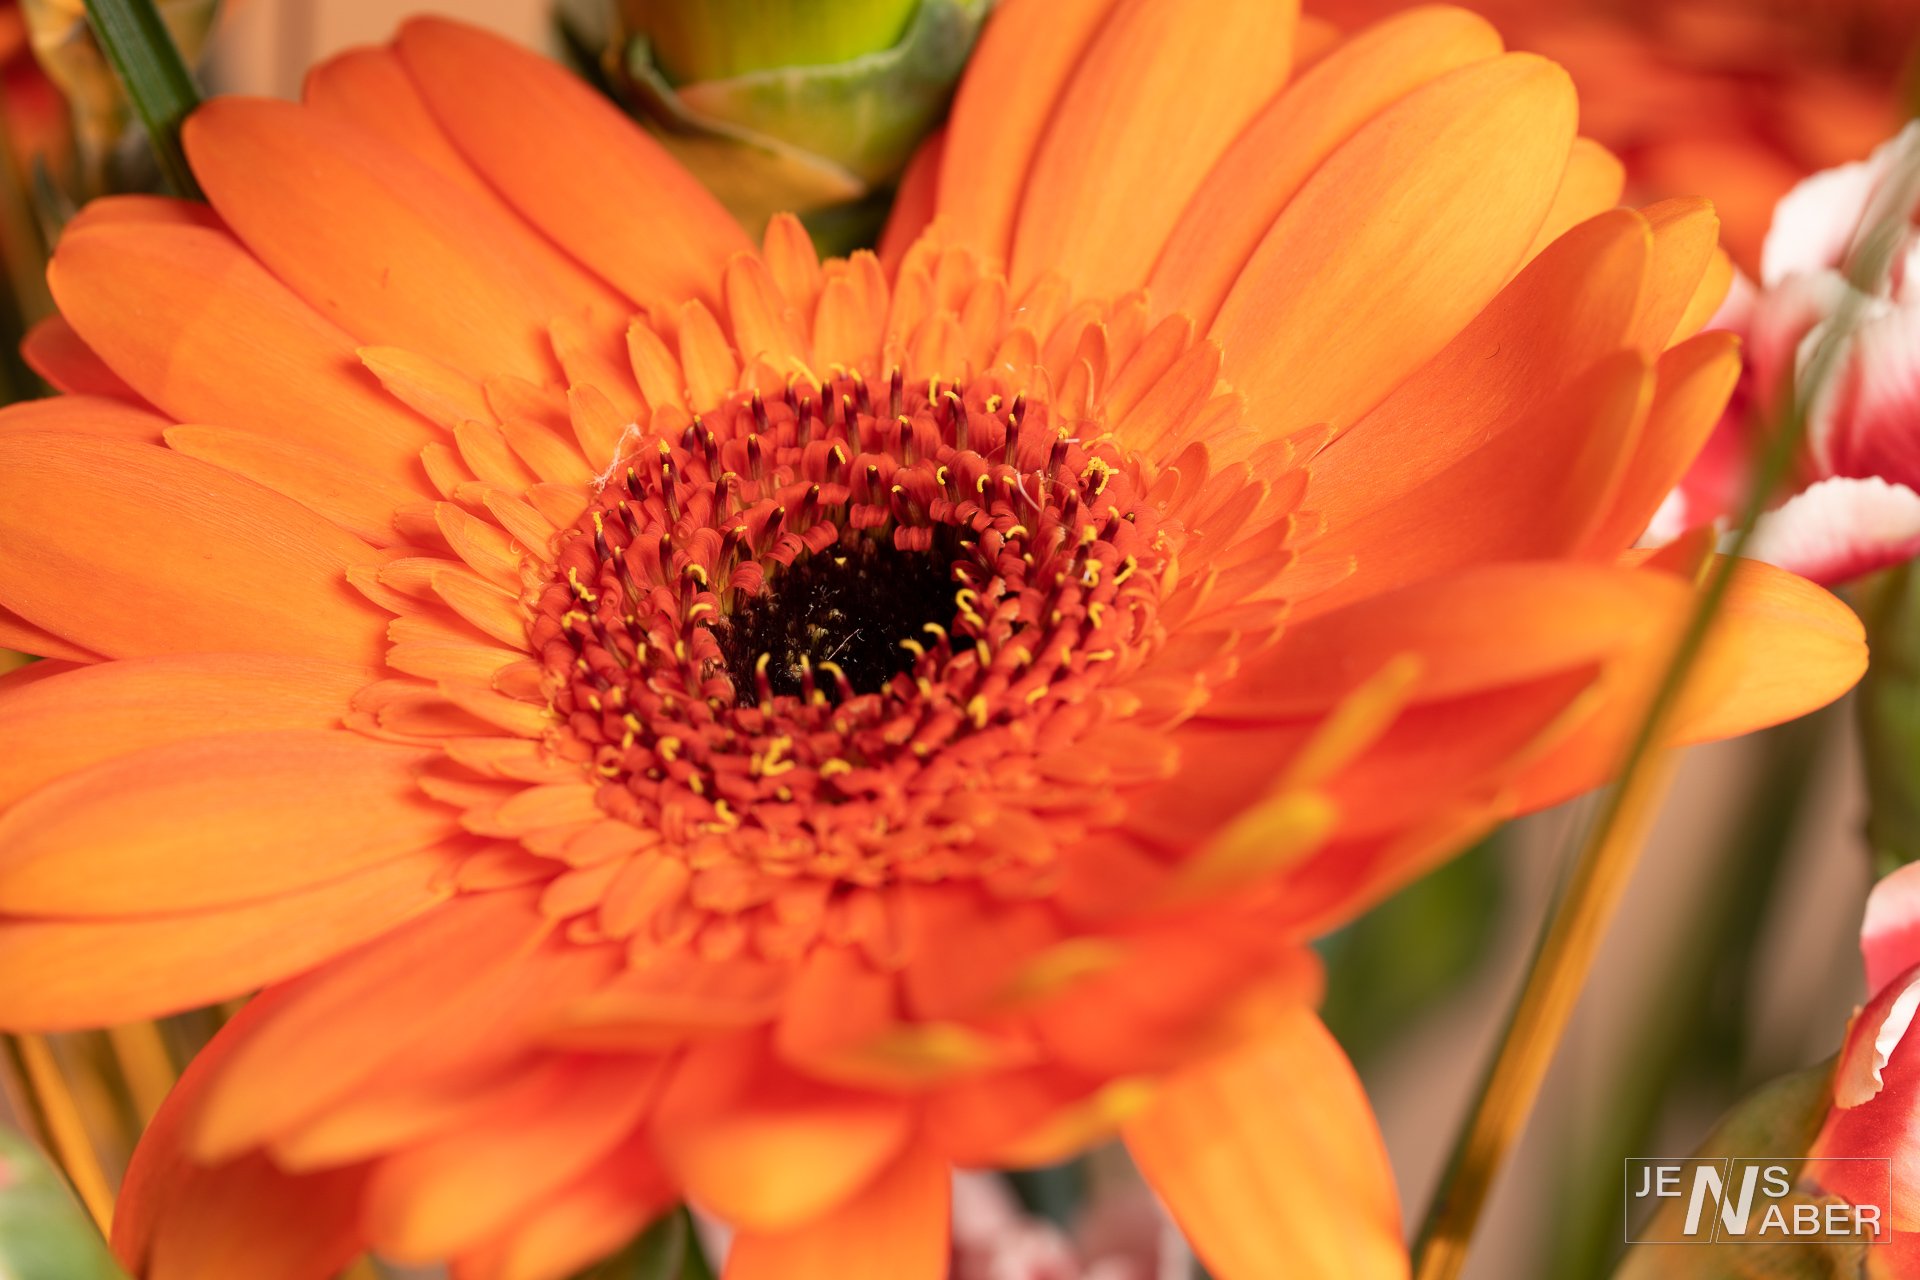
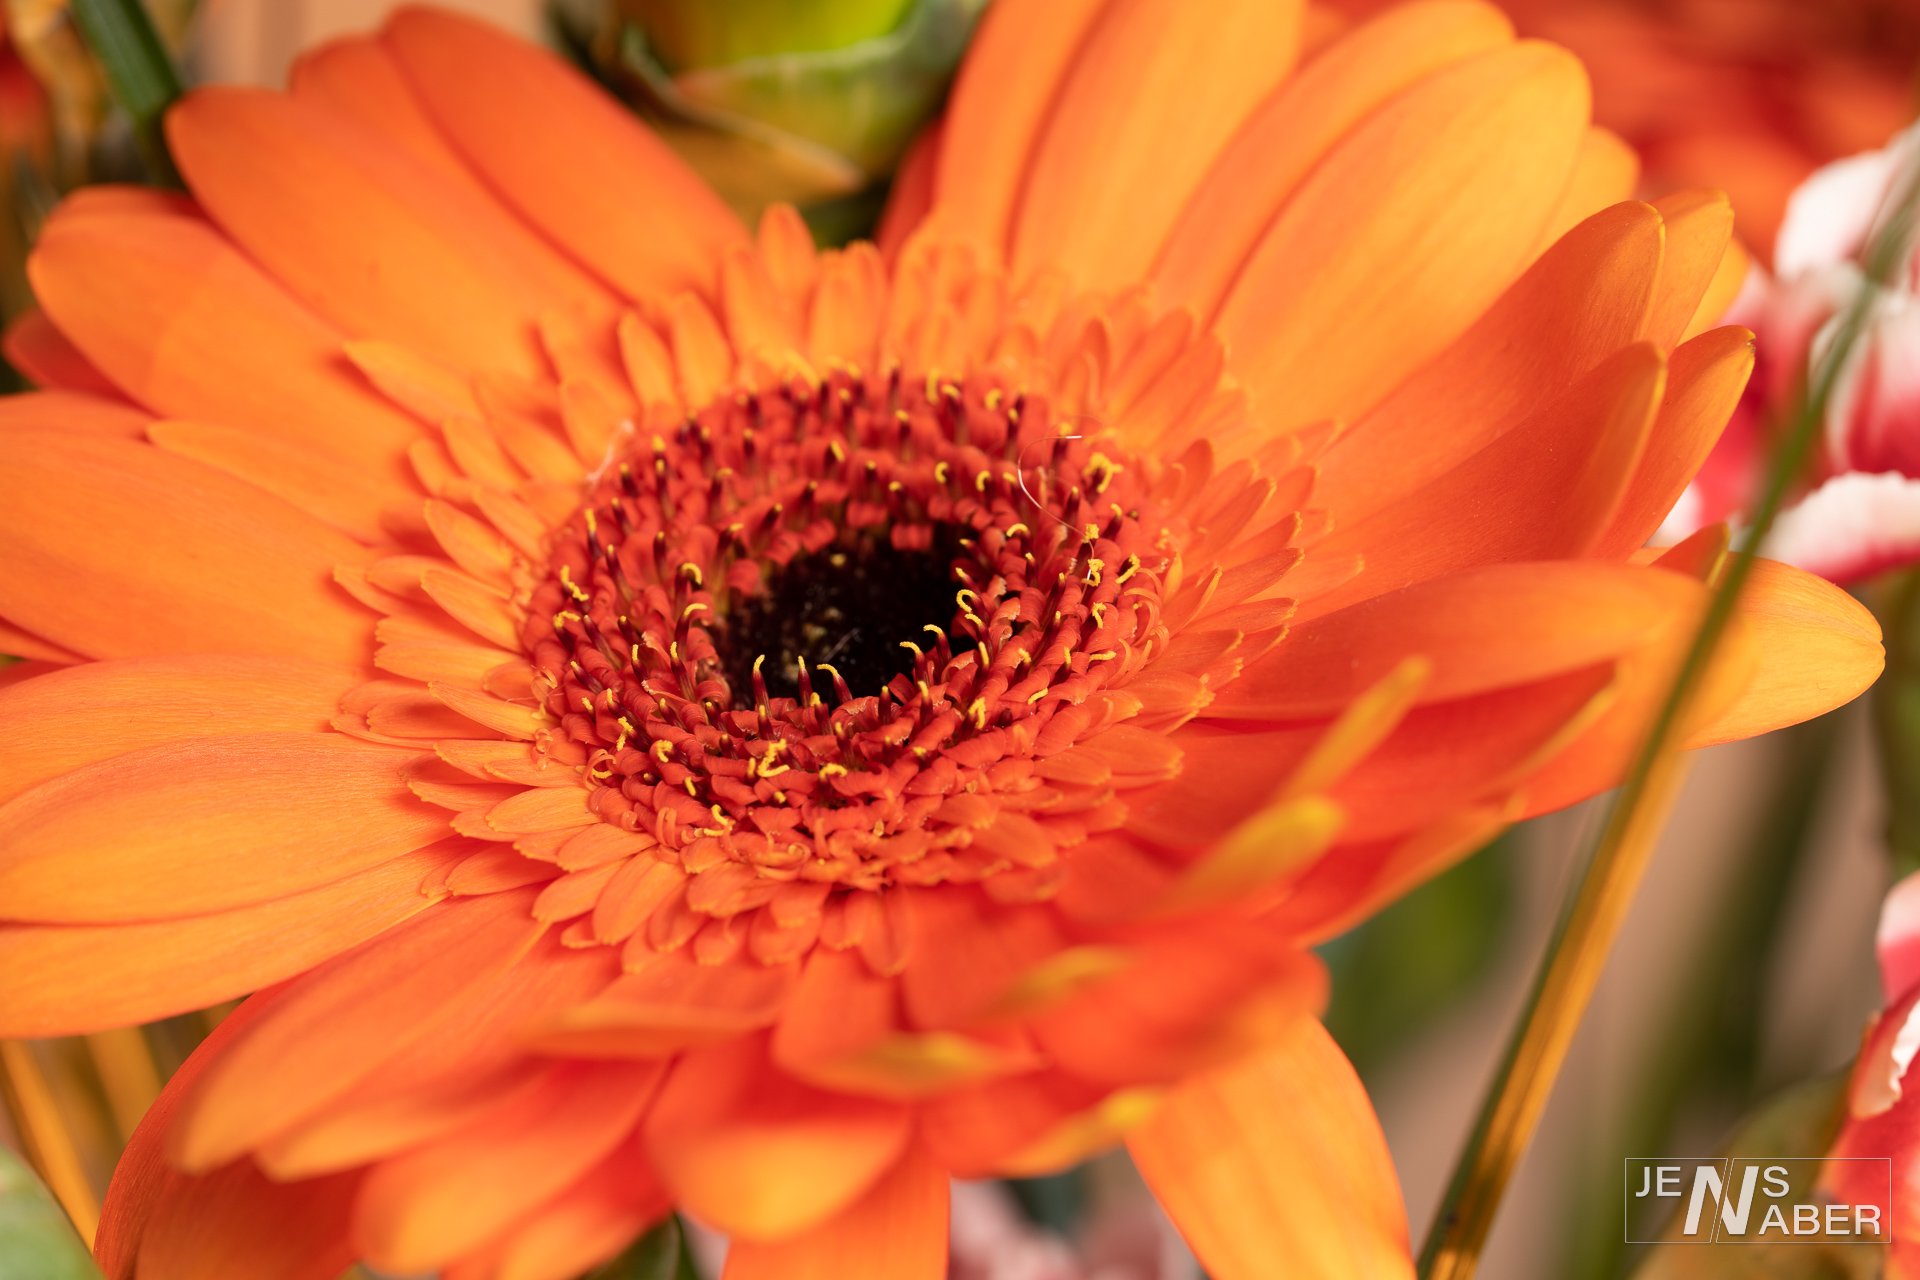
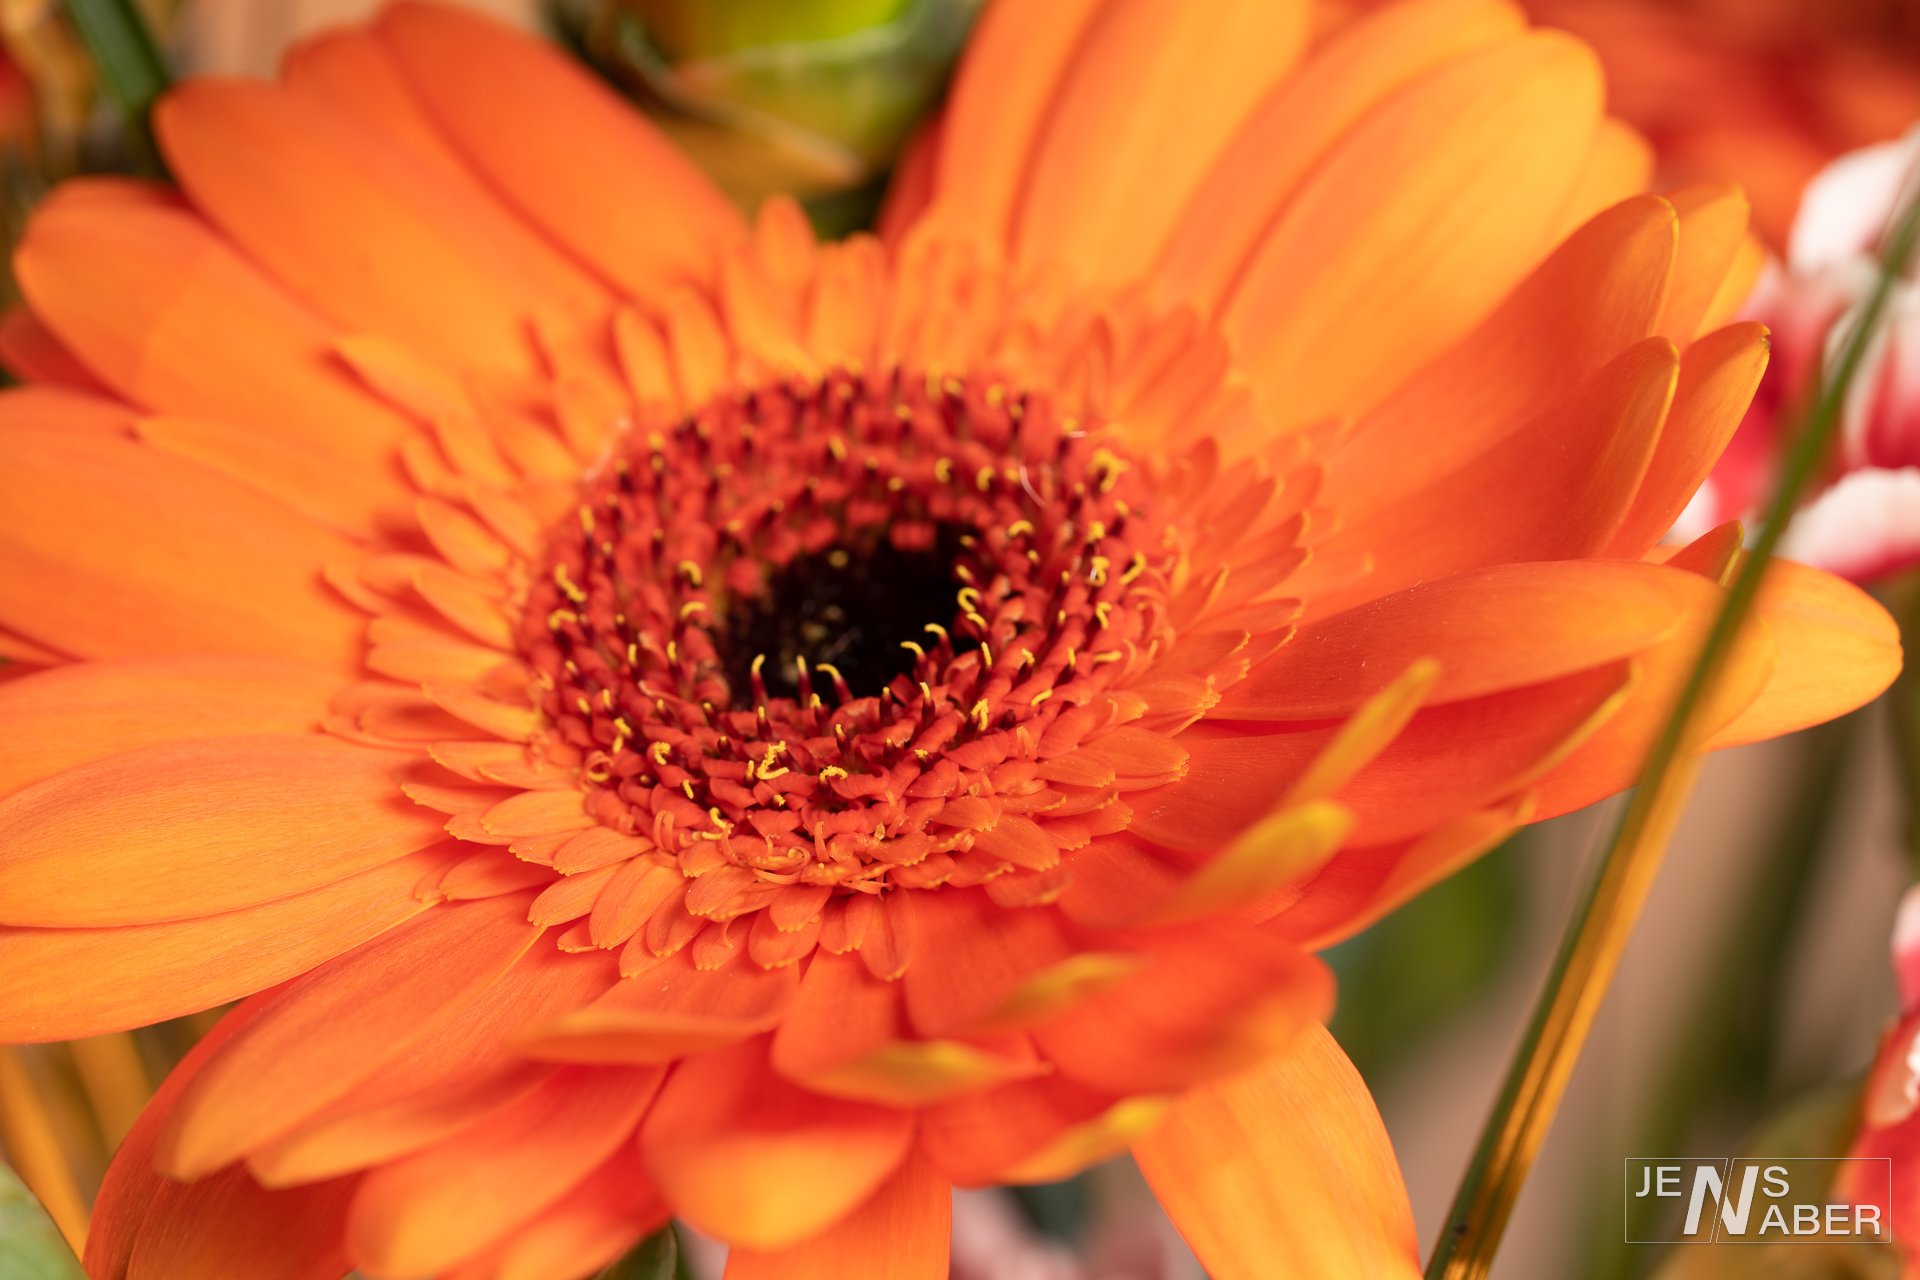
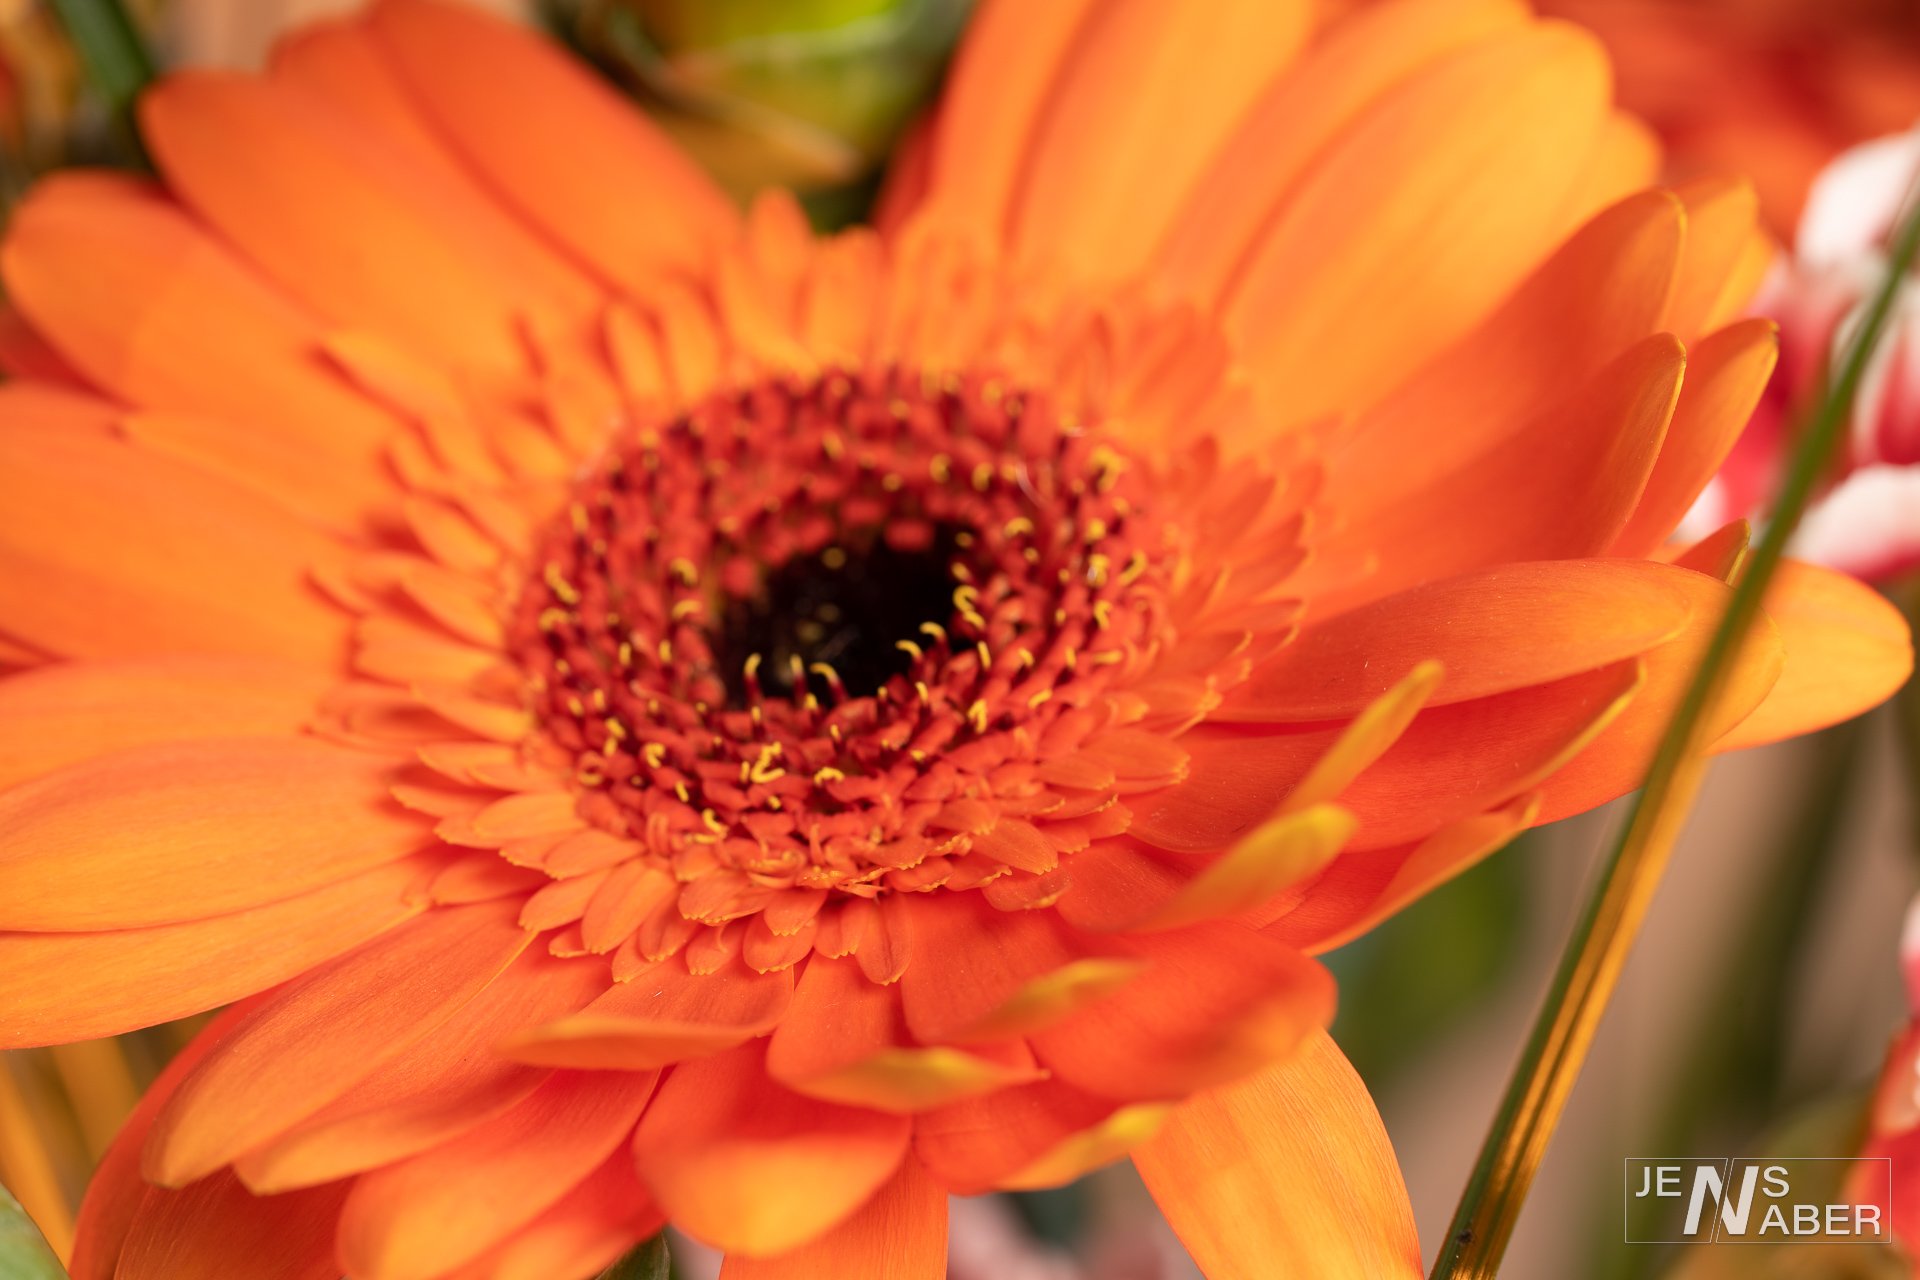
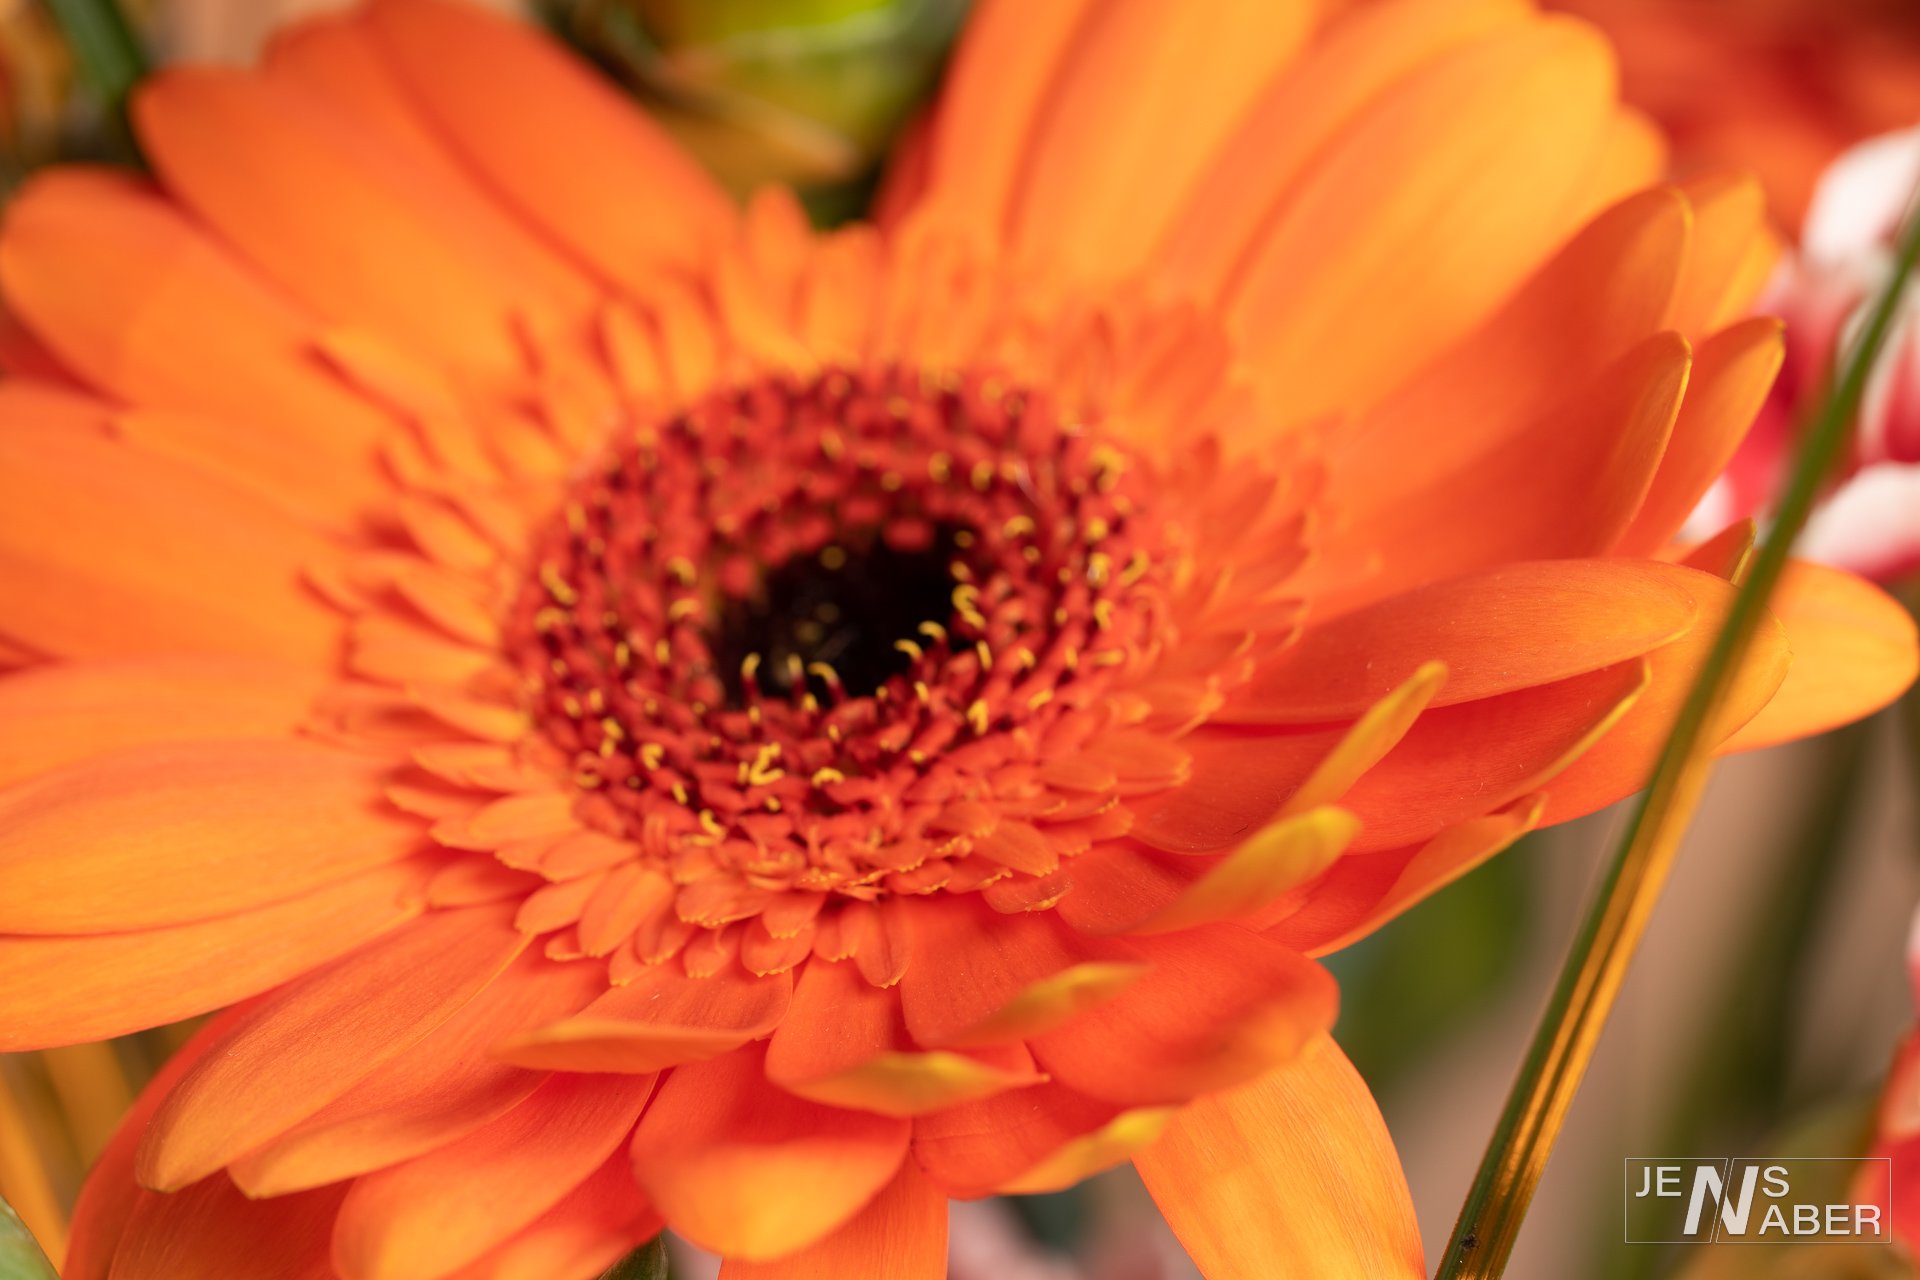
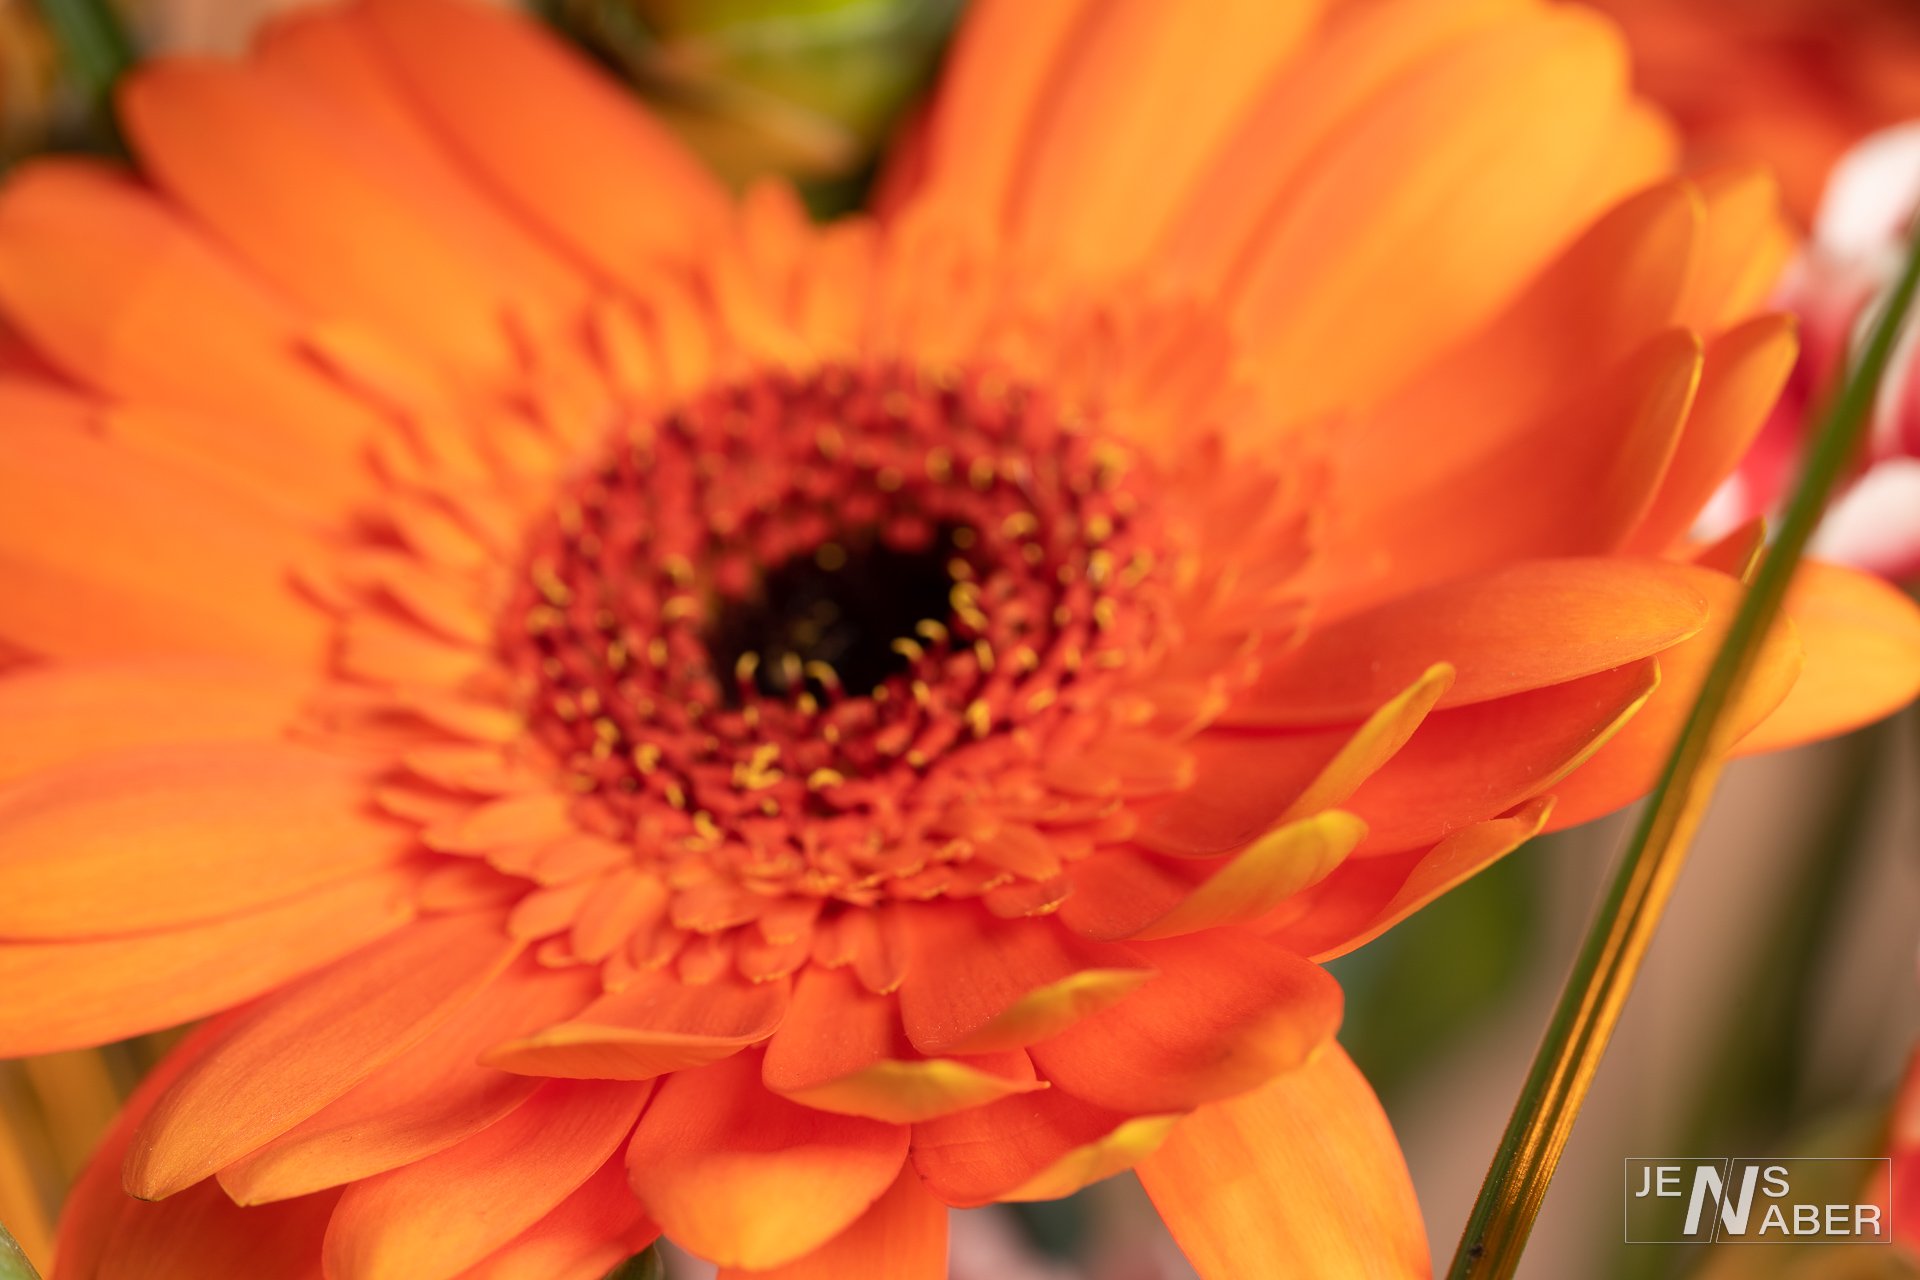
For my first try I didn’t have access to a Macro Slider (like e.g., the Neewer Pro 4). For this project I just used normal tripod and manual focus and shifted the focus for every image slightly forward manually. While this is not ideal, and I’m planning to get one for future projects, it worked quite well.
In the following gallery you can see all the resulting images:
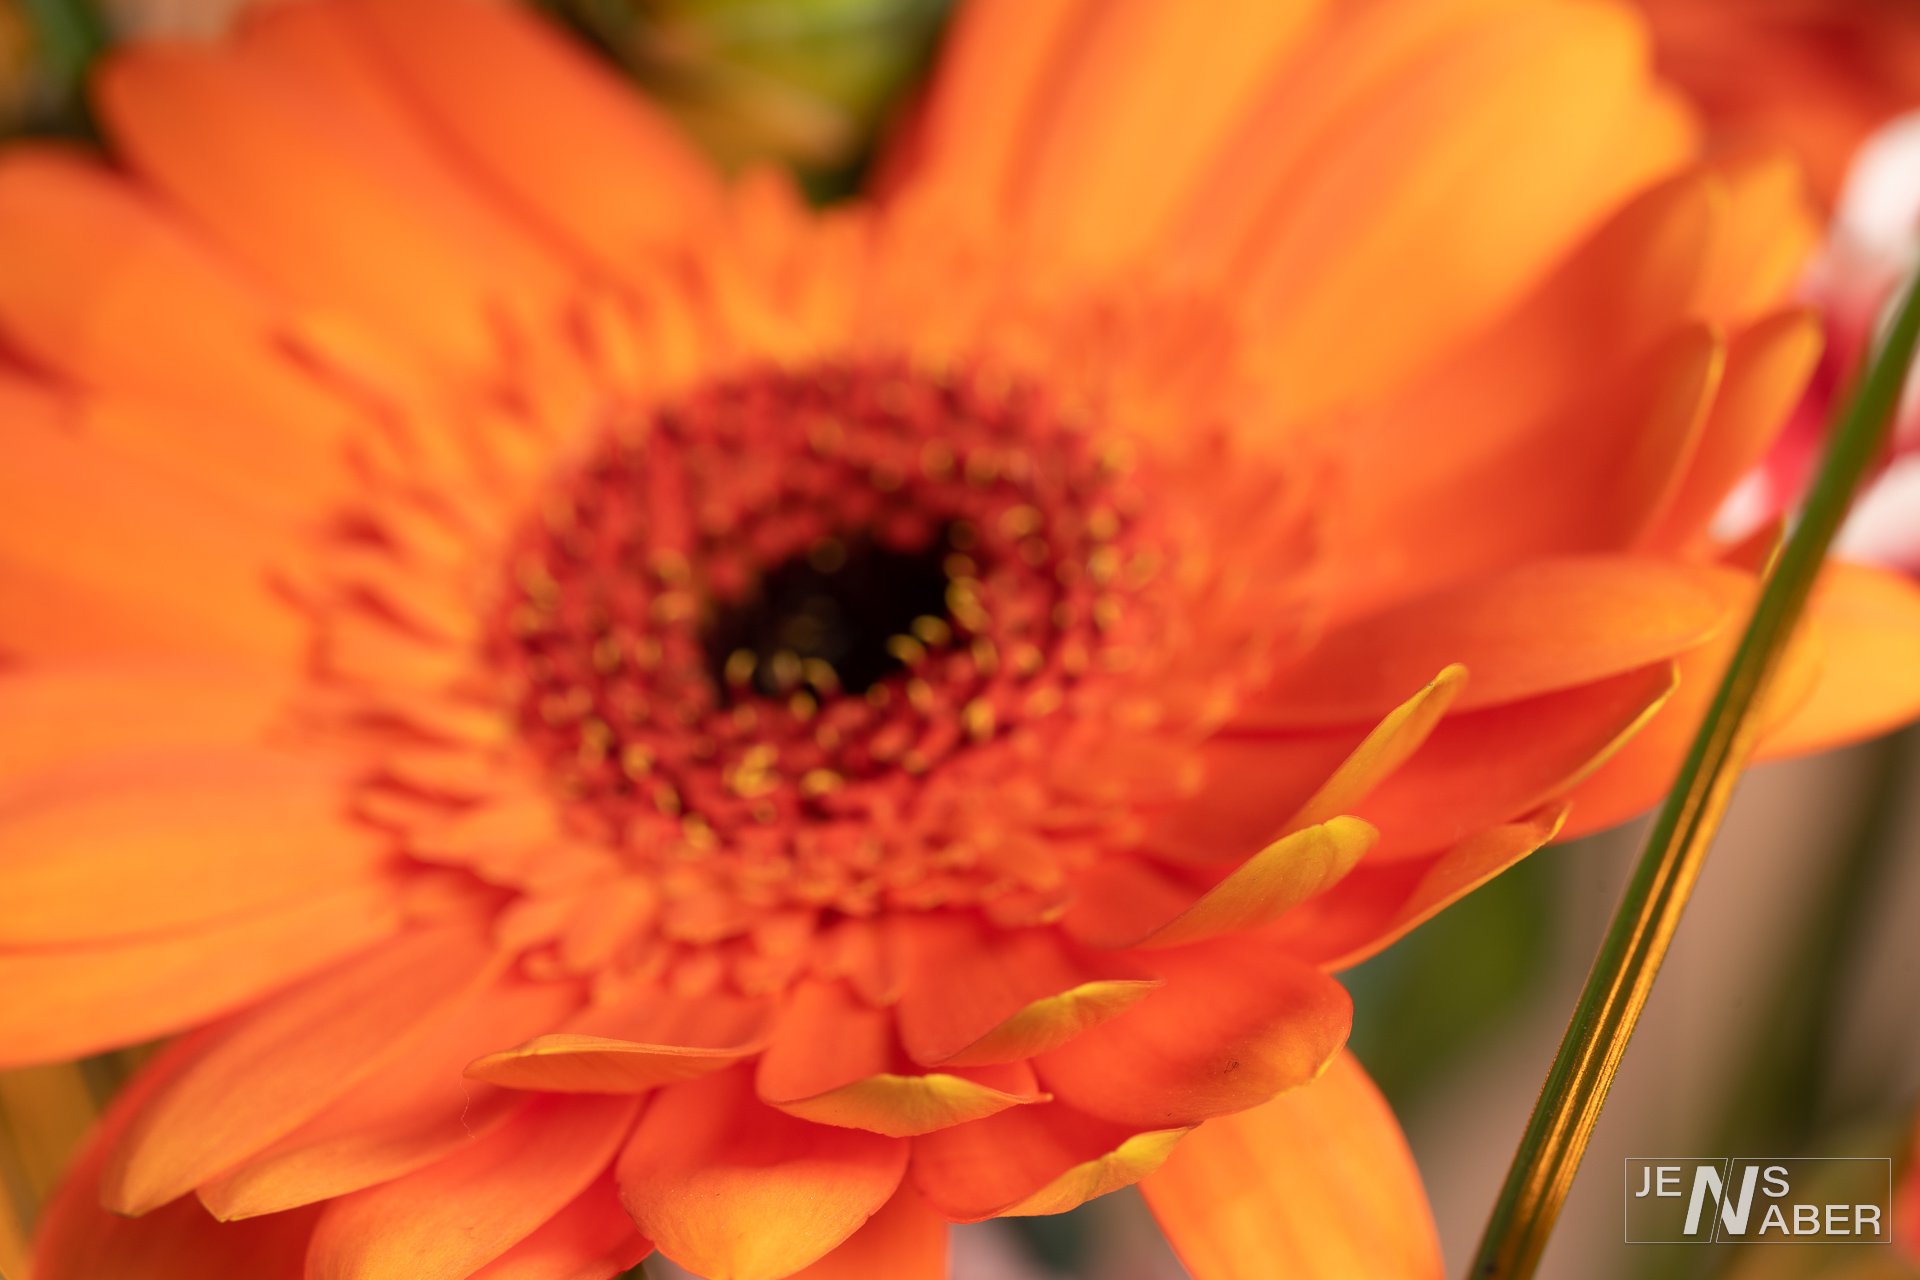
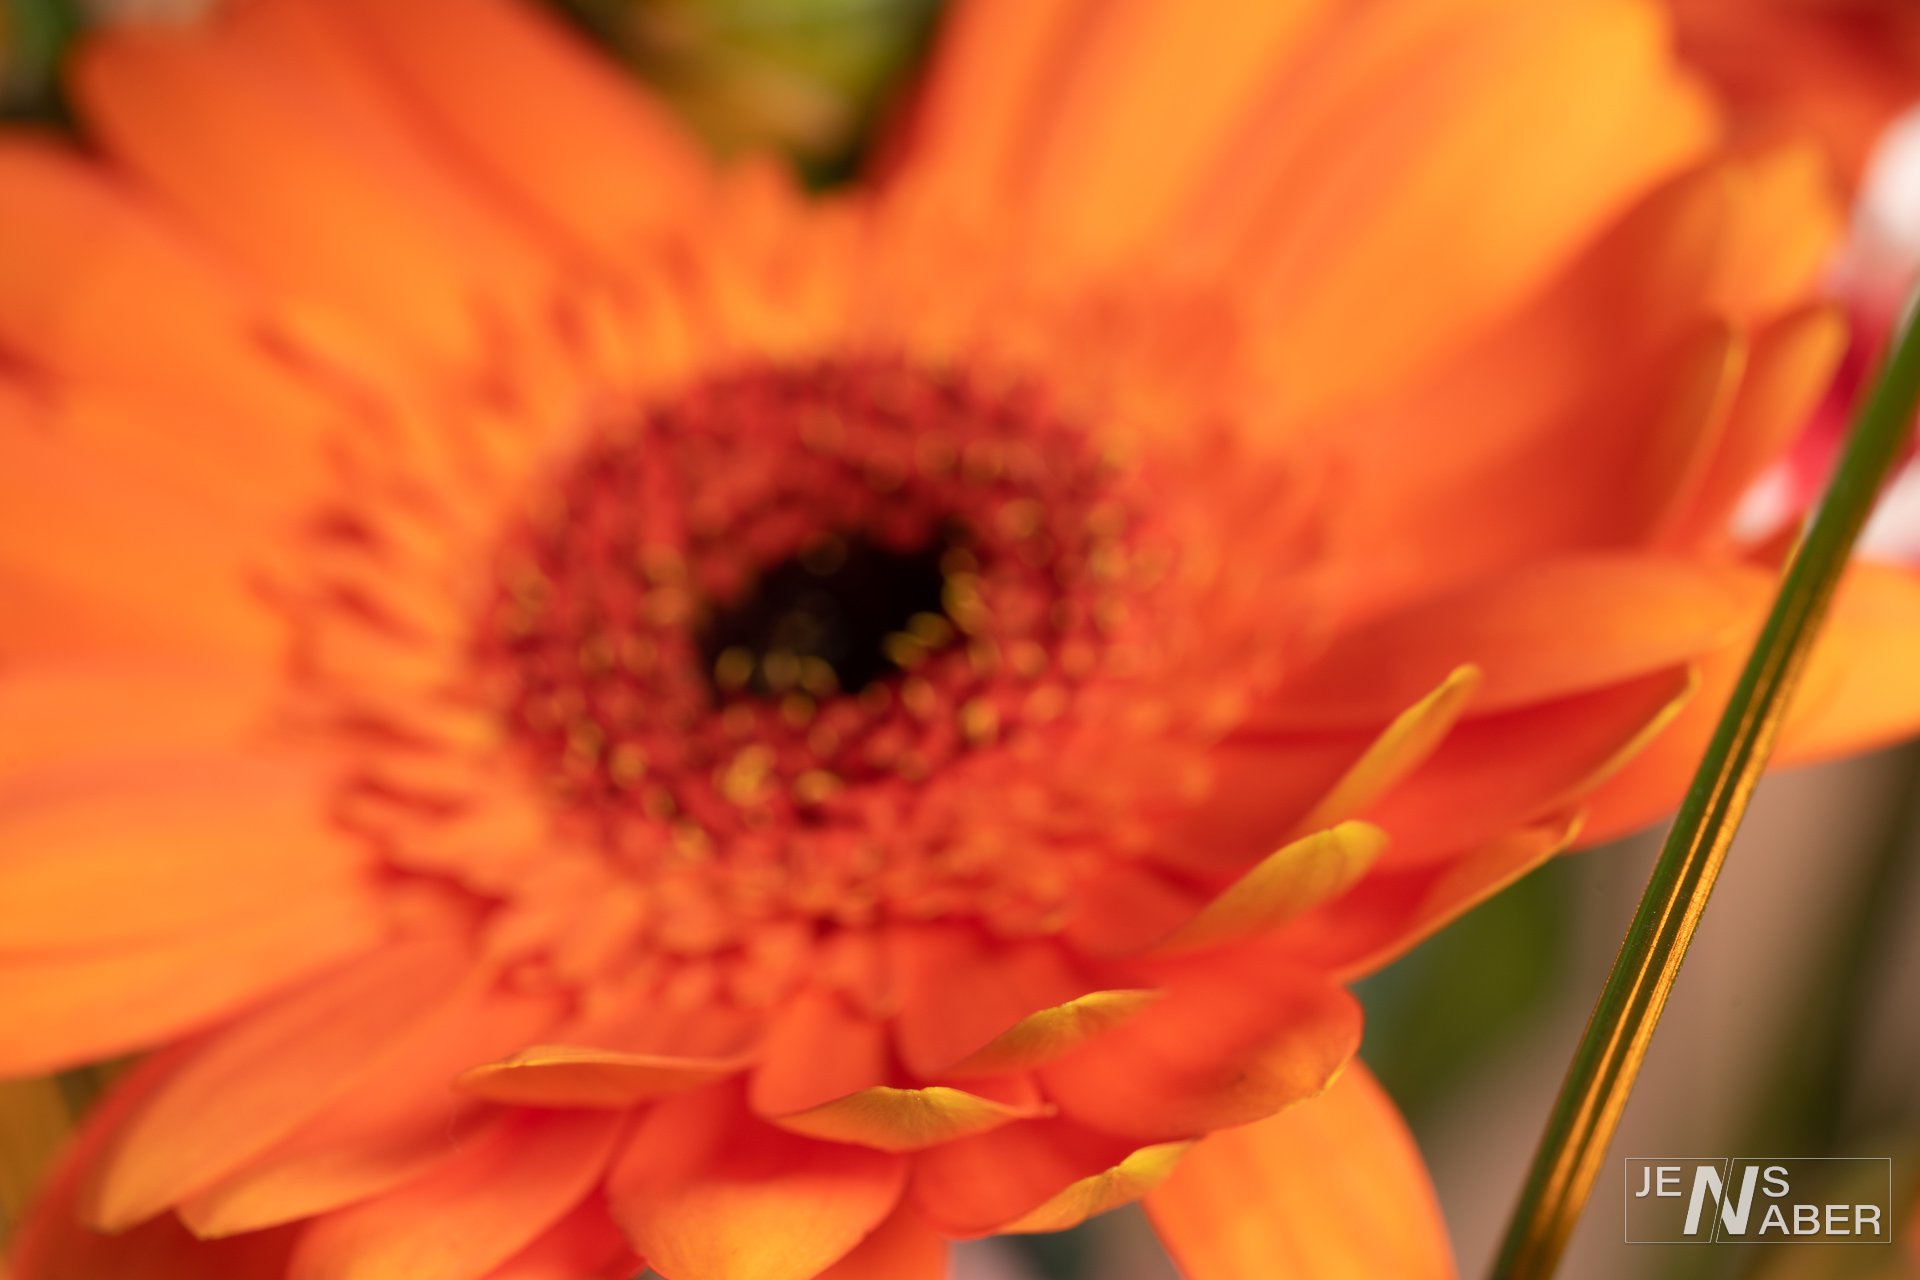
How did I stack the photos with Photoshop and Lightroom?
After shooting the series of focus stacked images, I used Adobe Lightroom Classic and Photoshop to stack them. Following, I will explain the complete process I used and maybe there is some new information for you in it.
1. Editing the images
Ensuring consistent editing of the images with the “Auto Sync” feature in Lightroom Classic
After Importing the images into your Lightroom Classic Library select all the images in the series and open the “Develop” tab. Here you should make sure to enable the “Auto Sync” feature at the bottom. This ensures, that all the changes you make at the image you edit get automatically synched to all other images in the series. This prevents that for instance you accidentally set the exposure a bit higher in one or that this saturation is slightly off in some images compared to the others. With this this enabled you can edit the images in Lightroom to your taste as usually.
Afterwards go back to your “Library”, make sure that all images are selected and with a right click and “Edit in -> Open as Layers in Photoshop …” send the images to Photoshop for stacking.
2. Aligning the images
Using the “Auto-Align Layers” Feature in Photoshop
Before starting to blend the images you first need to make sure that the layers are correctly stacked. For this the Auto-Align Layers feature of Photoshop is ideal. This can not only be used to create panoramic pictures, but is also the first step to focus stacking in Photoshop. To use it you first need to select all Layers. Afterwards go to “Edit -> Auto-Align Layers …”, here you can leave all settings on standard (Auto, without Vignette removal and Geometric Distortion). In my case this led to the best results, but if you get some strange results feel free to play with these settings.
3. Blending the images
With the “Auto-Blend Layers" feature in Photoshop you can stack the images
In the next step, we blend all the layers in Photoshop to only show the in-focus parts of every image. After selecting all layers open via “Edit -> Auto-Blend Layers …” the dialog. In this dialog select “Stack Images” and check the box for “Seamless Tones and Colors”. After clicking OK and giving some time for the calculations Photoshop assigns every layer a new mask. In the next step we can use this mask to refine the result.
4. Refinement
Refining the layer mask with the pencil tool
By using the pencil tool with white/black color you can refine the masks created in the last step by hand. This process is a bit tedious, and it can take a while to figure out which masks need to be altered. If you want to figure out which layer has the correct focus for the region you try to fix you can disable all masks by shift clicking on them and then disable one layer after the other from the top to the bottom (with the eye symbol) until you arrive at the layer with the correct focus. On the corresponding mask to this layer, you need to color the mask white and all other masks above this layer need to be black at the needed area.
I hope my experiments with focus stacking helped you out a bit. If you want to see my next tries, be sure to follow my on social media:


